

Last Updated: September 16, 2026
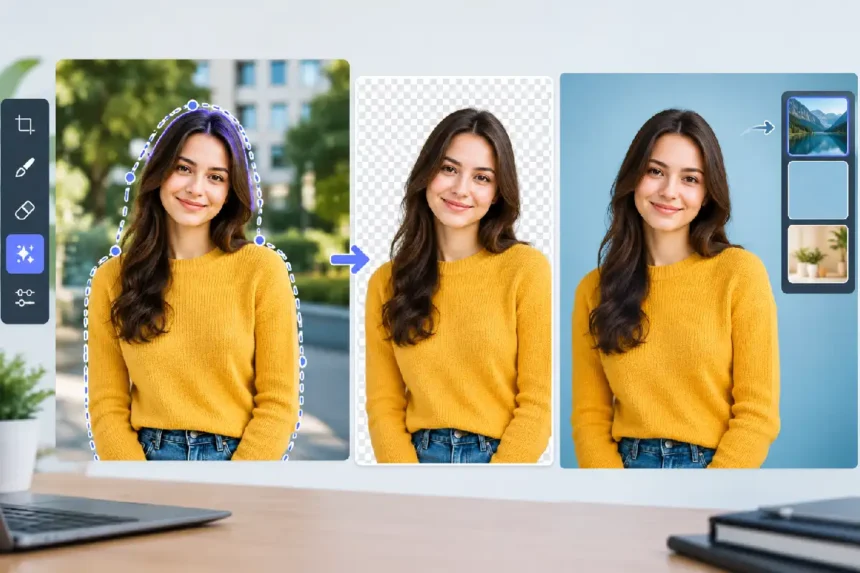
A cutout can look clean on white and grow a pale outline the moment it lands on a dark banner. The subject has not changed, but the new background has made an edge problem visible. Calling the asset finished while viewing it against only one color leaves that discovery to whoever uses it next.
When an AI Photo Editor removes a background, judge the result as an asset that must survive a new setting. Two plain test surfaces, one light and one dark, can expose different parts of the boundary. They are more useful for this check than an elaborate replacement scene.
The aim is not to make every edge unnaturally hard. Hair, leaves, and translucent material can have genuinely soft boundaries. The task is to separate those real details from leftover background color, missing pieces, and other changes that the source photograph does not support.
Start With A Source You Can Inspect Clearly
Choose a photograph in which the subject is visible from end to end. A blurred leaf tip or a handle hidden in deep shadow gives you little basis for deciding whether a later cutout preserved it. Keep the source available at a useful size throughout the review.
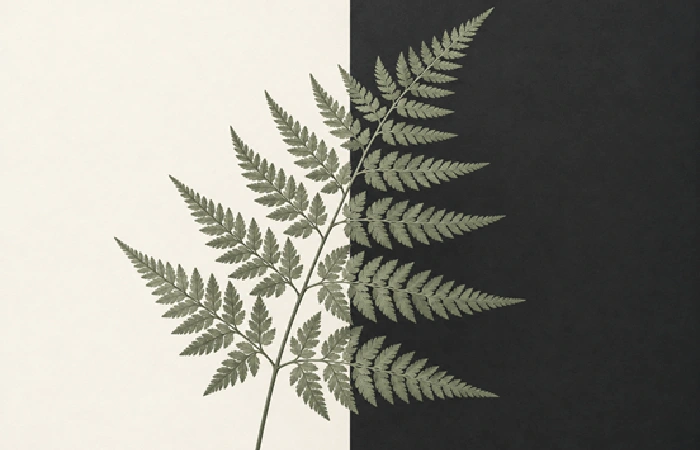
A fern is a useful example because the spaces between its small leaves matter as much as the outer silhouette. An apparently tidy outline could still fill those gaps, remove a thin stem, or join two leaves that were separate. Inspect a few representative details before asking a tool to isolate the plant.
PicEditor AI provides a dedicated background-removal route with an uploaded reference image and an Image Size choice before generation. Select a proportion that leaves room around the subject. A square destination should not become an excuse to crop away the ends of a wide object that the layout needs to show.
Keep this first operation focused on separation. Requests to restyle the plant or invent a more symmetrical arrangement would make it harder to distinguish a background-removal error from an intentional redesign. You can consider other changes after a trustworthy cutout exists.
Place The Cutout On Both Light And Dark
Open the generated asset in a layout or image application that lets you place a solid color behind it. Begin with a pale surface, then switch to a dark one. Keep the subject at the same scale and position so that the background is the main thing changing.
A light background can make missing pale details difficult to notice. A dark background can expose a bright fringe or an opaque patch that looked invisible on white. Inspect both rather than assuming the more flattering preview is the accurate one.
Edge pixels can retain traces of the original surroundings and produce a halo when placed elsewhere. That is one reason the destination matters. It does not mean every light edge is wrong: a real highlight on a shiny object should remain if it is present in the source.
Using a gpt photo editor for the initial separation does not replace this comparison. Look at the actual boundary, not the model name attached to the workflow. Keep the candidate whose leaf tips, gaps, and stem agree with the source on both test surfaces. A smooth outline alone does not answer those questions.
For the fern, inspect the narrow spaces between leaves on both test surfaces. Then check the outer tips and the stem. If a gap is filled on both backgrounds, the issue is different from a colored fringe that becomes visible only against one of them. That distinction helps you choose what needs correction.
Compare Suspicious Edges With The Original Photograph
Put the source and cutout side by side at similar magnification. Find the same point on each image. A soft pale line may be an actual leaf edge catching light, while a broad pale band may belong to the old wall behind it. The original provides the evidence for that judgment.
An AI Photo Editor can make a boundary look more orderly while removing detail you wanted to keep. Do not judge only by smoothness. If several leaf tips have become blunt or a thin handle has disappeared, the asset may be cleaner-looking and less faithful at the same time.
PicEditor AI gives you a generated candidate to review; it should not be treated as a guarantee that every delicate boundary survived. When the problem is localized, refine it in an editor you know or produce another candidate from the source. Avoid repeatedly modifying a damaged derivative without keeping track of what the original contained.
A gpt photo editor workflow is most useful here when it reduces the initial isolation work while leaving a clear inspection step. If preserving a delicate edge requires more effort than the source warrants, choose a better photograph. A sharper source can be a more direct fix than another broad editing instruction.
Check the subject’s interior as well as its outline. A transparent hole where solid material should remain can be easy to miss on a checkerboard preview. The same light-dark comparison can reveal it, especially when the subject contains dark fabric, small openings, or reflective surfaces.
Check The Export Inside Its Actual Destination
Once the cutout looks sound on the test surfaces, place the exported file in the intended design. Inspect it at the size people will see. A flaw obvious at extreme magnification may be irrelevant in a small tile, while a broad halo can remain distracting even after the image is reduced.
Confirm that the background is actually transparent in the exported asset. A preview that looks empty is not sufficient if the saved file has been flattened onto a solid color. Use an output format and export setting that retain transparency, then reopen the file and test it again.
Review the full object rather than stopping at the edge you repaired. A later crop or resize can change how narrow details read. If the destination uses a textured or colored surface, inspect that combination after the two plain backgrounds have done their diagnostic job.
Where A Simple Cutout Still Needs Manual Judgment
Glass, fine hair, motion blur, and partly transparent material can make the boundary ambiguous even in a good source. A pair of background checks reveals problems but does not automatically solve them. Use careful manual refinement or a different photograph when the asset must preserve those details closely. Treat a convincing preview as a candidate until that judgment is complete.
A Reusable Cutout Should Survive More Than One Surface
PicEditor AI can help prepare a transparent asset for a layout, especially when the subject is clear and its shape is easy to compare with the source. Checking both surfaces helps expose an outline that looks clean only because it blends into one background.
Keep the original, the accepted cutout, and a quick destination preview together. The next person should be able to place the asset without discovering a hidden white box or a missing leaf tip. A clean edge is useful because it travels well, not because it looks flawless on one favorable background.